Slime Recipes: 12 Easy Ways to Make Slime at Home
Here is how to make slime 12 different ways. Every slime recipe on this page uses ingredients from a grocery store or craft aisle, comes with exact amounts and tells you what to do when your slime turns out sticky, runny or rock hard. There are recipes with glue, recipes without glue, recipes with no activator at all and one you can even taste.
We checked every amount against recipes from glue makers, science educators and children’s play experts, and we explain why each ingredient works. Once you understand that, you can fix any slime and invent your own.
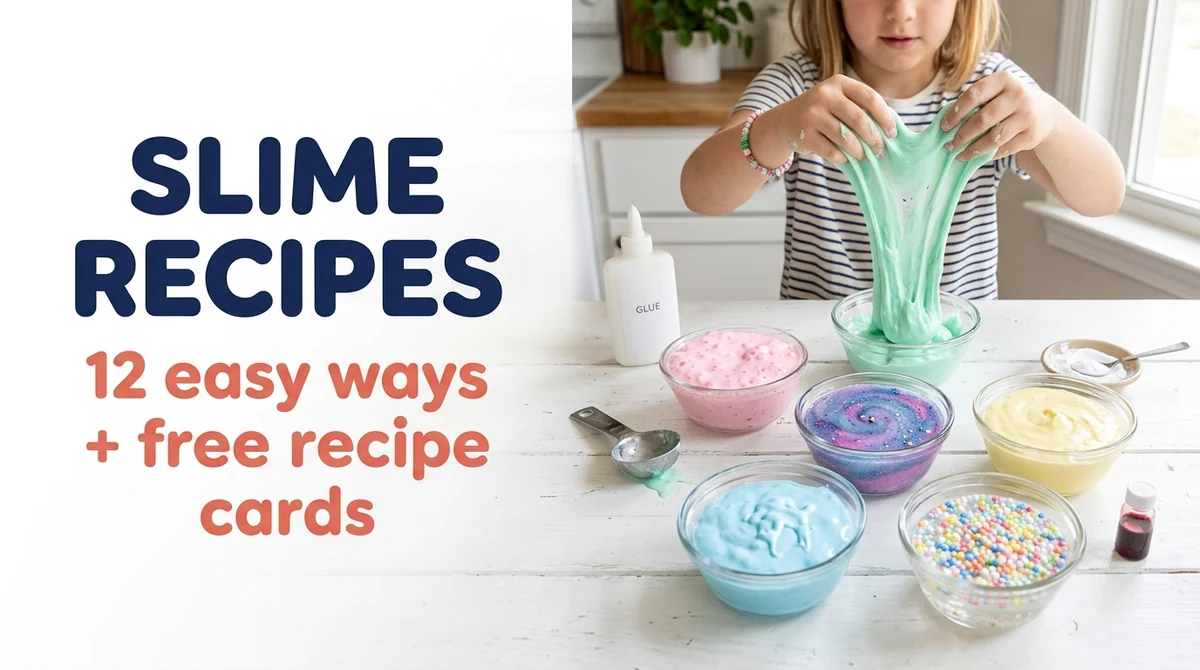
Quick answer: To make slime, stir 1/2 cup white school glue with 1/4 cup water and 1/2 teaspoon baking soda, then add 1 tablespoon of contact lens solution that lists boric acid and sodium borate. Knead for 2 to 3 minutes until it stops sticking. No glue? Knead 1/2 cup cornstarch with 1/3 cup dish soap instead.
Free printable slime recipe cards (PDF)
All 12 recipes on cards, plus the activator chart and the Fix-It chart. Print them for the kitchen or a slime party. US Letter, no signup.
Which slime recipe should you make?
Start with recipe #1 if you have never made slime before. It is the easiest slime recipe and the base for most of the others. Use this chart to pick the texture you want.
| Slime recipe | Texture | Activator | Lasts |
|---|---|---|---|
| 1. Basic contact solution slime | Smooth, stretchy | Contact solution + baking soda | About 1 week |
| 2. Borax slime | Firm, very stretchy | Borax solution | About 1 week |
| 3. Liquid starch slime | Soft, pully | Liquid starch | Several days |
| 4. Fluffy slime | Airy, puffy | Contact solution + baking soda | Fluffiest for 1 day |
| 5. Clear slime | Glassy | Contact solution + baking soda | About 1 week |
| 6. Glitter and galaxy slime | Sparkly | Contact solution + baking soda | About 1 week |
| 7. Butter slime | Soft, spreadable | Contact solution + baking soda | 4 to 5 days |
| 8. Cloud slime | Drizzly, snowy | Contact solution + baking soda | Several days |
| 9. Crunchy slime | Bumpy, crunchy | Contact solution + baking soda | About 1 week |
| 10. No-glue slime | Soft, doughy | None | Same day |
| 11. Oobleck | Liquid and solid | None | Same day |
| 12. Edible marshmallow slime | Chewy, taste-safe | None | Same day |
The Base–Bond–Body Formula: how every slime recipe works
Every slime recipe has the same three parts. We call it the Base–Bond–Body Formula. Learn it once and you’ll know why a recipe works, how to fix it and how to make your own.
- Base: the stuff that becomes slime. Usually that’s PVA school glue, which is full of long, chain-like molecules. Cornstarch and marshmallows are the no-glue bases.
- Bond: the slime activator. It links those long glue molecules together so the liquid turns stretchy. Borax, contact lens solution with baking soda and liquid starch are the three common bonds.
- Body: the add-in that gives the texture. Shaving cream makes fluffy slime, soft clay makes butter slime, instant snow makes cloud slime and foam beads make crunchy slime.
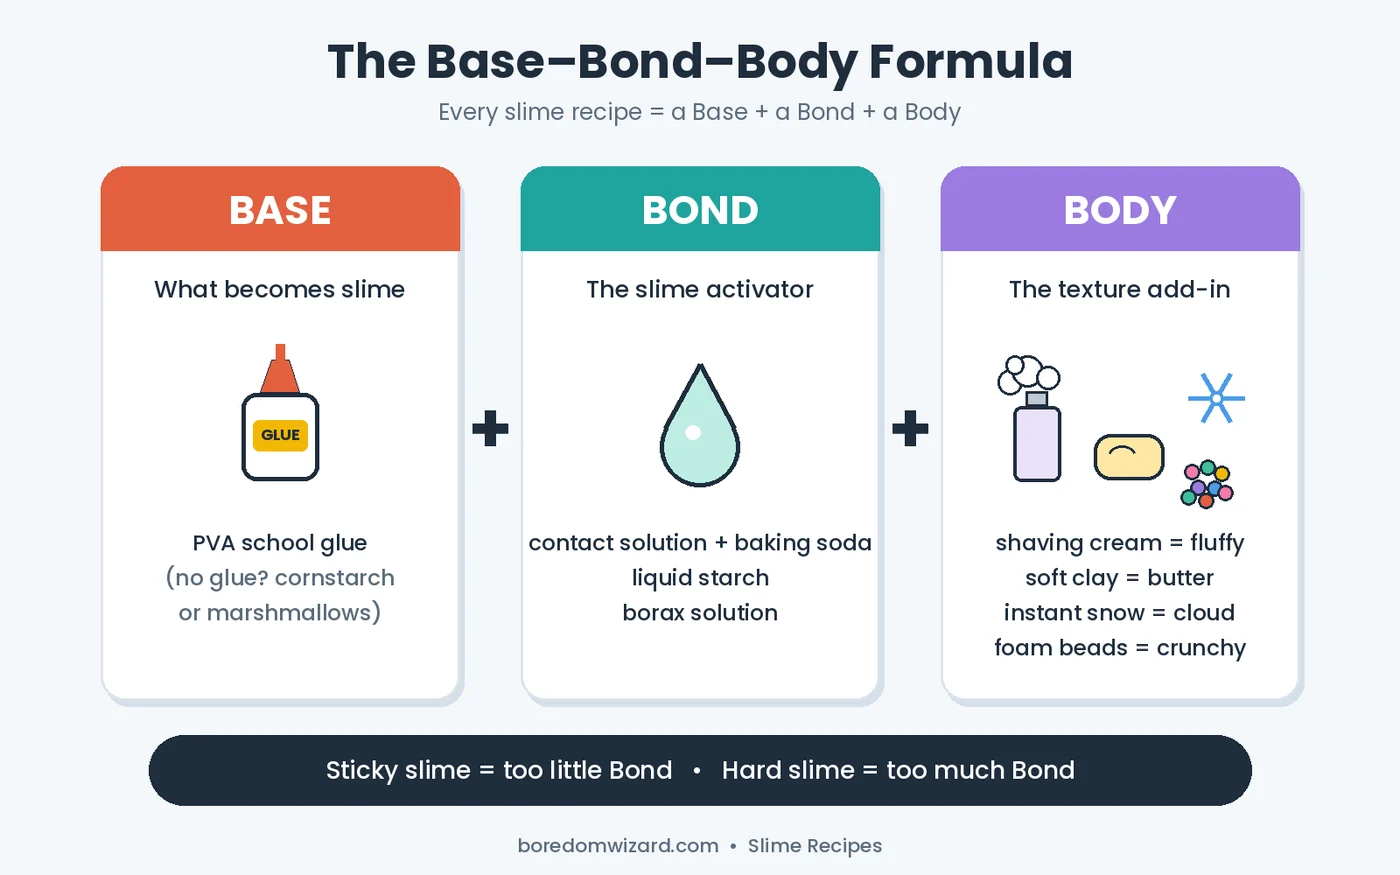
Almost every slime problem is a Bond problem. Sticky slime has too little activator, and hard, rubbery slime has too much. Keep that in mind and the Fix-It chart further down will make sense in seconds.
What you need to make slime
These are the basic slime ingredients for the glue recipes. The no-glue recipes need even less.
- PVA school glue: white or clear washable school glue. Most of our recipes use 1/2 cup, which is one 4-ounce bottle. Glue sticks and super glue won’t work.
- A slime activator: contact lens solution plus baking soda, liquid starch or borax powder. The contact solution must list boric acid and sodium borate in its ingredients, or the slime won’t form.
- Baking soda: it helps contact solution firm up the slime. On its own it does nothing.
- Water, food coloring and add-ins: shaving cream (the foam, not gel), glitter, foam beads, soft air-dry clay or instant snow powder, depending on the recipe.
- Tools: a bowl, a spoon or spatula, measuring cups and spoons, and an airtight container for storage. A plastic placemat makes cleanup easy.
How to make slime: 12 easy slime recipes, step by step
Each slime recipe below shows its Base, Bond and Body, how long it takes and how long it lasts. Recipes 1 to 9 use glue. Recipes 10 to 12 are slime without glue and without an activator.
1. Basic Slime with Contact Solution (the best first slime recipe)
Base: white glue · Bond: contact solution + baking soda · Body: a little water for stretch
Texture: smooth and stretchy. Time: 10 minutes. Lasts: about a week in an airtight container.
You’ll need:
- 1/2 cup (4 oz) white PVA school glue
- 1/4 cup water
- 1/2 teaspoon baking soda
- 1 tablespoon contact lens solution (with boric acid and sodium borate)
- 2 to 3 drops food coloring (optional)
The easiest slime recipe: white school glue, water, baking soda and contact lens solution, ready in about 10 minutes.
Total Time: 10 minutes
Mix the glue and water
Pour 1/2 cup white school glue and 1/4 cup water into a bowl and stir until smooth.
Add color
Stir in 2 to 3 drops of food coloring now. It’s much harder to mix in once the slime firms up.
Stir in the baking soda
Add 1/2 teaspoon baking soda and stir until it disappears.
Add the activator
Add 1 tablespoon contact lens solution and stir. The slime will start pulling away from the sides of the bowl.
Knead it
Pick it up and knead for 2 to 3 minutes. It’s sticky at first and gets smoother as you knead. Still sticky after 3 minutes? Add 1/2 teaspoon more contact solution and knead again.
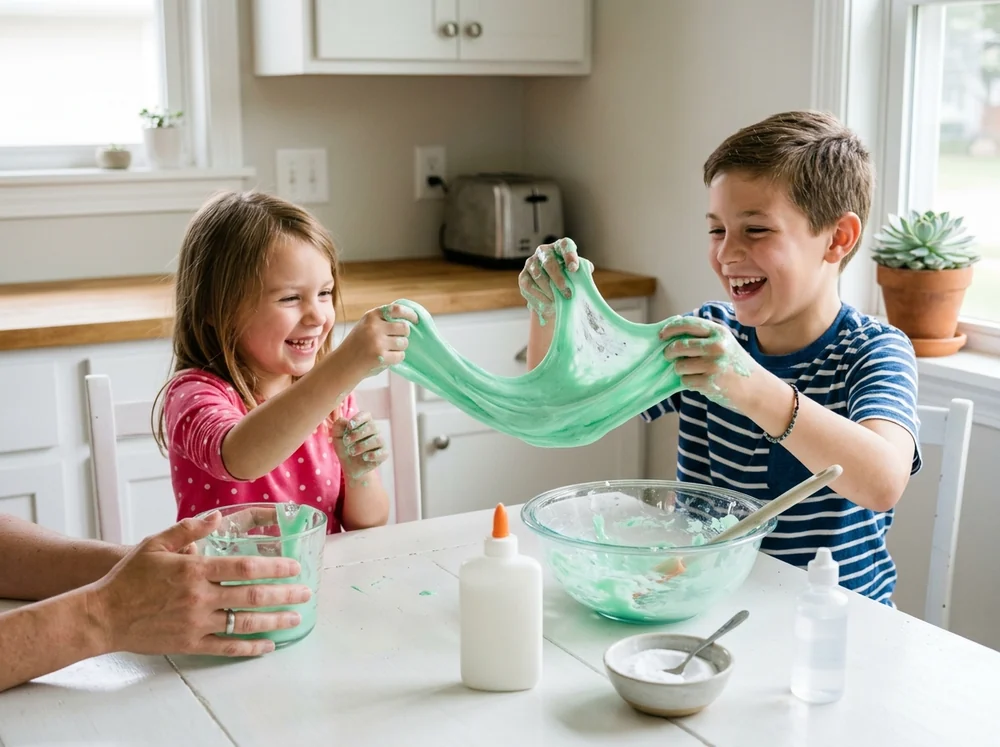
Tip: add the contact solution slowly. Too much at once makes slime rubbery, and you can’t take it back out.
2. Borax Slime (the classic stretchy slime)
Base: white glue · Bond: borax solution · Body: water
Texture: firm and very stretchy. Time: 10 minutes. Lasts: about a week sealed.
You’ll need:
- 1/2 cup white or clear PVA school glue
- 1/2 cup water (mixed into the glue)
- Activator: 1/4 teaspoon borax powder dissolved in 1/2 cup warm water
- Stir the glue and 1/2 cup water together until smooth. Add color now.
- An adult stirs 1/4 teaspoon borax powder into 1/2 cup warm water for about a minute, until it fully dissolves.
- Pour the borax activator into the glue a little at a time, stirring. The slime forms almost instantly, and you may not need all of it.
- Lift the slime out and knead. It starts stringy and turns smooth. Pour any leftover activator down the drain.
Tip: this is the strongest slime activator, so it is the one to use sparingly. Adults should handle the borax powder, and slime makers should wash their hands after playing. See the safety section below.
3. 2-Ingredient Liquid Starch Slime
Base: white glue · Bond: liquid starch · Body: optional water
Texture: soft and pully. Time: 5 minutes. Lasts: several days sealed.
You’ll need:
- 1/2 cup white PVA school glue
- 1/4 cup water (optional; skip it for a true 2-ingredient slime)
- About 1/2 cup liquid laundry starch
- Pour the glue into a bowl and stir in the water and color.
- Add the liquid starch a little at a time, stirring after each pour.
- When it clumps into a ball, take it out and knead. It’s sticky at first and firms up as you work it.
- Still sticky? Add a few more drops of starch and keep kneading, but not too much or it turns stringy.
Tip: this is the classic 2-ingredient slime most schools use. It is the quickest slime recipe on the list.
4. Fluffy Slime
Base: white glue · Bond: contact solution + baking soda · Body: shaving cream
Texture: airy, puffy and soft. Time: 15 minutes. Lasts: fluffiest on day one, playable for about a week.
You’ll need:
- 2/3 cup white PVA school glue
- 1/4 cup water
- 1/2 teaspoon baking soda
- 2 to 3 cups shaving cream (the foam, not gel)
- 1 1/2 tablespoons contact lens solution
- Food coloring
- Stir the glue, water and baking soda together in a large bowl.
- Fold in 2 to 3 cups of shaving cream, then stir in the food coloring.
- Add 1 tablespoon contact solution, stir, then knead for about 5 minutes.
- Add the last 1/2 tablespoon of contact solution and knead until it’s soft and puffy.
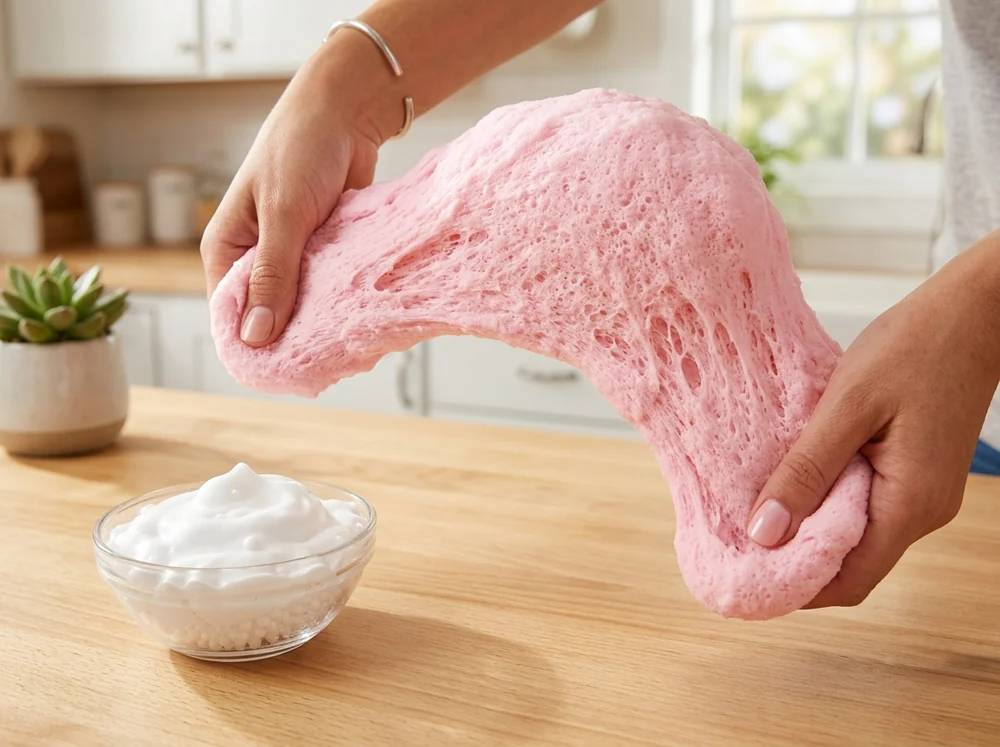
Tip: fluffy slime slowly deflates as the shaving cream bubbles pop. That’s normal. It still stretches after it loses its puff.
5. Clear Slime
Base: clear glue · Bond: contact solution + baking soda · Body: water
Texture: glassy and see-through. Time: 10 minutes, plus 2 to 3 days to clear. Lasts: about a week sealed.
You’ll need:
- 1/2 cup clear PVA school glue
- 1/2 cup water
- 1/4 teaspoon baking soda
- 1 tablespoon contact lens solution
- Stir the clear glue and water together until completely mixed.
- Stir in 1/4 teaspoon baking soda. Clear glue needs less than white glue.
- Add the contact solution slowly and stir until the slime pulls away from the bowl.
- Knead briefly, then seal it in a container and leave it alone for 2 to 3 days. The bubbles rise out and it turns glass-clear.
Tip: the less you knead clear slime, the clearer it stays. Stretch it gently once it has cleared.
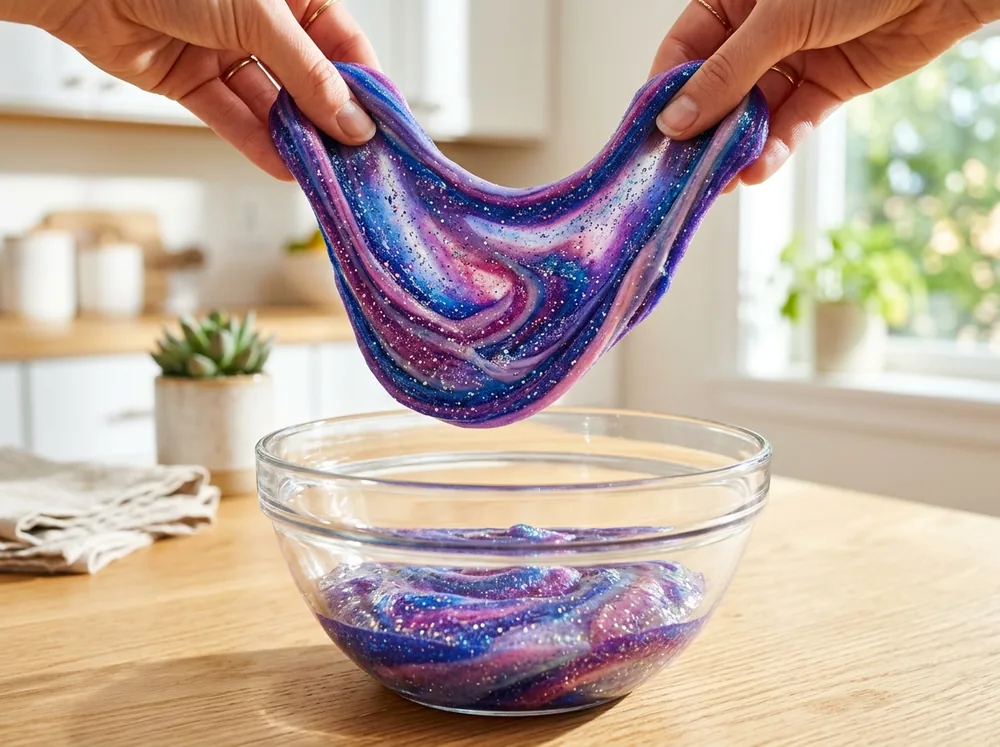
6. Glitter Slime and Galaxy Slime
Base: clear glue · Bond: contact solution + baking soda · Body: glitter
Texture: sparkly and stretchy. Time: 15 minutes. Lasts: about a week sealed.
You’ll need:
- Everything for recipe #5 (clear slime)
- 1 to 2 tablespoons fine glitter
- For galaxy slime: purple, blue and pink (or black) food coloring
- Glitter slime: make the clear slime recipe, but stir the glitter into the glue before you add the baking soda.
- Galaxy slime: split the glue and water evenly between three bowls and color each one differently.
- Add a pinch of glitter, a third of the baking soda and a third of the contact solution to each bowl. Knead each color.
- Lay the three slimes side by side, twist them together and stretch. Stop before the colors blend into one.
7. Butter Slime
Base: white glue · Bond: contact solution + baking soda · Body: soft air-dry clay
Texture: soft, smooth and spreadable like butter. Time: 20 minutes. Lasts: 4 to 5 days in a zip bag.
You’ll need:
- 1 cup (8 oz) white PVA school glue
- 1 1/2 tablespoons hand lotion
- 1/2 teaspoon baking soda
- 2 tablespoons water
- 2 teaspoons contact lens solution
- 4 oz soft air-dry clay, such as Crayola Model Magic
- Stir the glue, lotion, baking soda and water together.
- Add 2 teaspoons contact solution and stir until it thickens. It will still be sticky.
- Press the clay into the slime and start kneading. It’s messy at first.
- Keep kneading until the clay disappears and the slime turns soft and buttery. If it’s still sticky, add contact solution a few drops at a time.
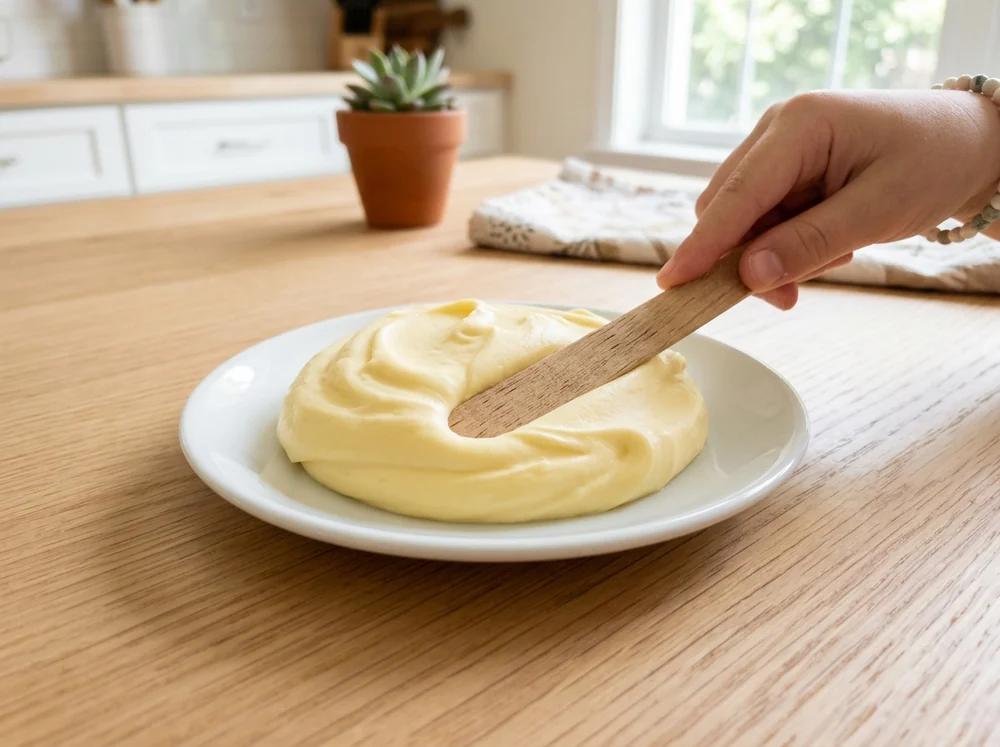
Tip: the clay has to be soft and air-dry. Firm modeling clay won’t blend. If you have clay left over, try our air dry clay ideas.
8. Cloud Slime
Base: white glue · Bond: contact solution + baking soda · Body: instant snow
Texture: drizzly, snowy and soft. Time: 15 minutes. Lasts: several days sealed.
You’ll need:
- 1/2 cup white PVA school glue
- 1/2 teaspoon baking soda
- 1 tablespoon contact lens solution
- 2 drops food coloring
- 1 teaspoon instant snow powder + 1/4 cup water
- Stir the glue, baking soda and food coloring together.
- Add the contact solution and stir until thick and goopy. Set it aside.
- In a second bowl, stir the instant snow powder into 1/4 cup water. It puffs up into fake snow.
- Sprinkle a few spoonfuls of snow over the slime, fold it in and knead. Keep adding snow until it feels like a cloud.
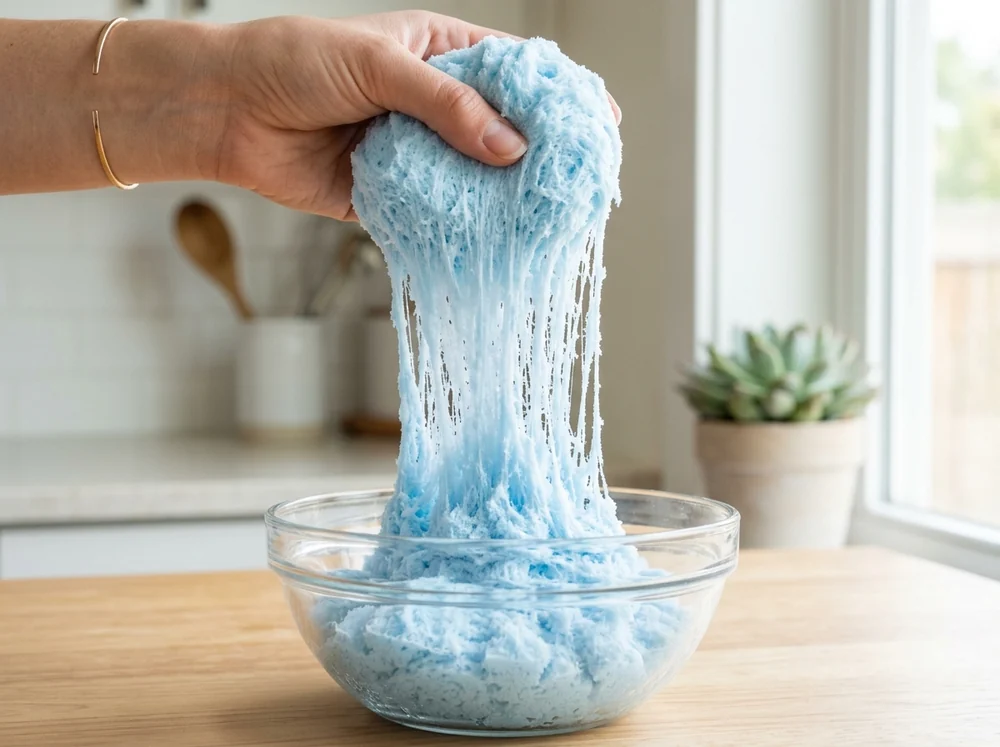
Tip: pull cloud slime apart slowly over a bowl. It drizzles down like snow, which is what makes it so satisfying.
9. Crunchy Slime
Base: clear glue · Bond: contact solution + baking soda · Body: foam beads
Texture: bumpy and crunchy when you squeeze it. Time: 10 minutes. Lasts: about a week sealed.
You’ll need:
- Everything for recipe #5 (clear slime) or recipe #1
- About 1/2 cup foam beads
- Make the clear slime or basic slime recipe.
- Before the slime cures, sprinkle the foam beads over it.
- Fold and knead until the beads are spread all through the slime.
- Squeeze and poke it to hear the crunch. Add more beads for more crunch.
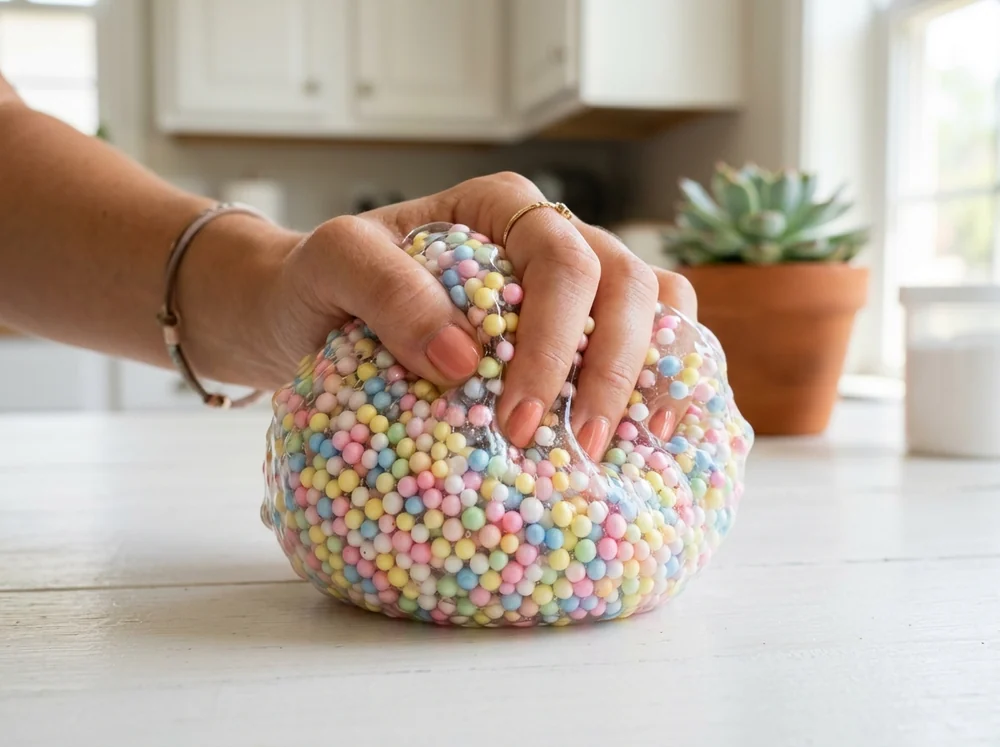
Tip: clear glue shows off the beads best. Keep crunchy slime away from little kids because the beads are a choking risk.
10. No-Glue Slime (cornstarch and dish soap)
Base: cornstarch · Bond: none · Body: dish soap
Texture: soft and doughy. Time: 5 minutes. Lasts: the same day.
You’ll need:
- 1/2 cup cornstarch
- 1/3 cup liquid dish soap
- A few drops of food coloring (optional)
- Put the cornstarch in a bowl and pour in the dish soap.
- Stir until it starts to clump together.
- Add the food coloring and knead by hand for about 5 minutes.
- Too sticky? Add a pinch more cornstarch. Crumbly? Add 2 to 3 drops of dish soap.
Tip: this is the easiest way to make slime without glue or activator. It dries out quickly, so make it, play with it and toss it the same day.
11. Oobleck (cornstarch slime)
Base: cornstarch · Bond: none · Body: water
Texture: runny when you go slow, solid when you squeeze. Time: 5 minutes. Lasts: the same day.
You’ll need:
- 1 cup cornstarch
- 1/2 cup water
- A few drops of food coloring (optional)
- Pour the cornstarch into a bowl.
- Slowly stir in the water. Use a 2-to-1 ratio of cornstarch to water.
- Mix with your hands until it feels like a thick liquid.
- Squeeze a handful and it turns solid. Open your hand and it melts through your fingers.
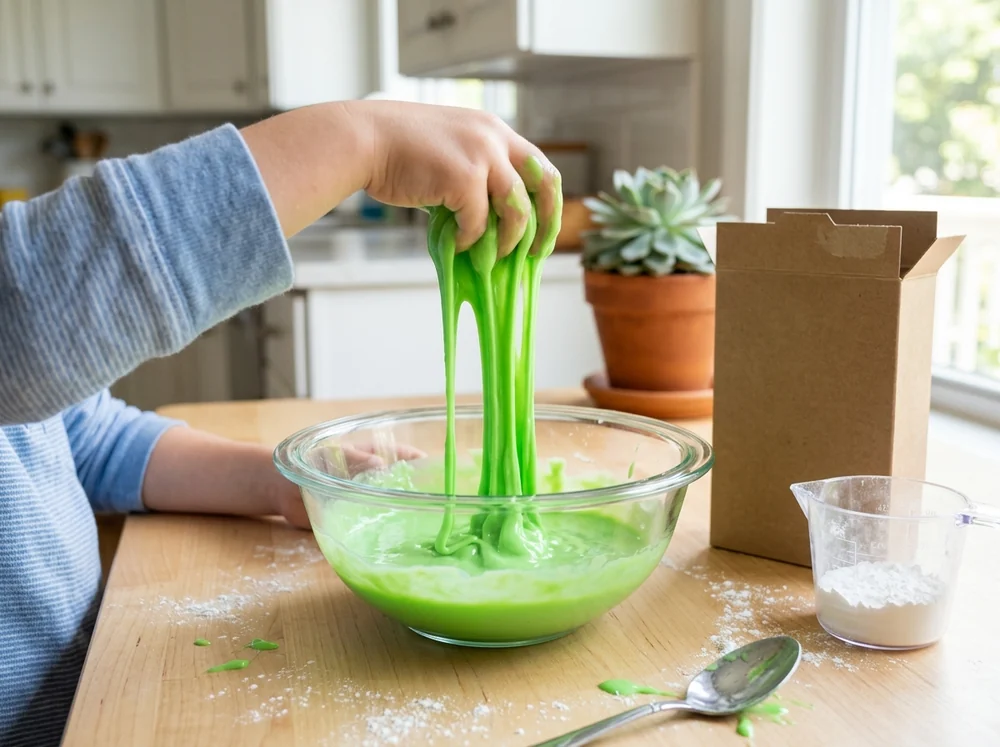
Tip: oobleck is a non-Newtonian fluid, so it acts like a solid when you hit it and a liquid when you don’t. Too runny? Add more cornstarch. Scrape it into the trash, never down the sink, because it can clog the drain.
12. Edible Marshmallow Slime (taste-safe)
Base: marshmallows · Bond: none · Body: cornstarch
Texture: chewy and stretchy. Time: 10 minutes. Lasts: the same day.
You’ll need:
- 6 jumbo marshmallows
- 1 tablespoon cooking oil
- 1/2 to 1 tablespoon cornstarch
- Put the marshmallows and oil in a microwave-safe bowl.
- Microwave on high for about 30 seconds, until they puff up. An adult should do this step.
- Stir in 1/2 tablespoon cornstarch.
- Let it cool until it’s comfortable to touch, then knead and stretch. Add the rest of the cornstarch for firmer slime.
Tip: this is the only slime recipe here that’s safe if a little one takes a lick. It’s taste-safe, not a snack, and it hardens as it cools.
How to make slime activator (3 ways)
Slime activator is the Bond. It contains borate, which links the glue molecules together. Here are the three ways to make it, with the amount for every 1/2 cup of glue.
| Slime activator | How to make it | Per 1/2 cup glue | Best for |
|---|---|---|---|
| Contact solution + baking soda | Use contact lens solution with boric acid and sodium borate | 1/2 tsp baking soda + about 1 tbsp solution | Most recipes, gentlest |
| Liquid starch | Use liquid laundry starch straight from the bottle | 1/4 to 1/2 cup | 2-ingredient slime |
| Borax solution | Dissolve 1/4 tsp borax powder in 1/2 cup warm water | Add slowly until it forms | Firm, classic slime (adults mix) |
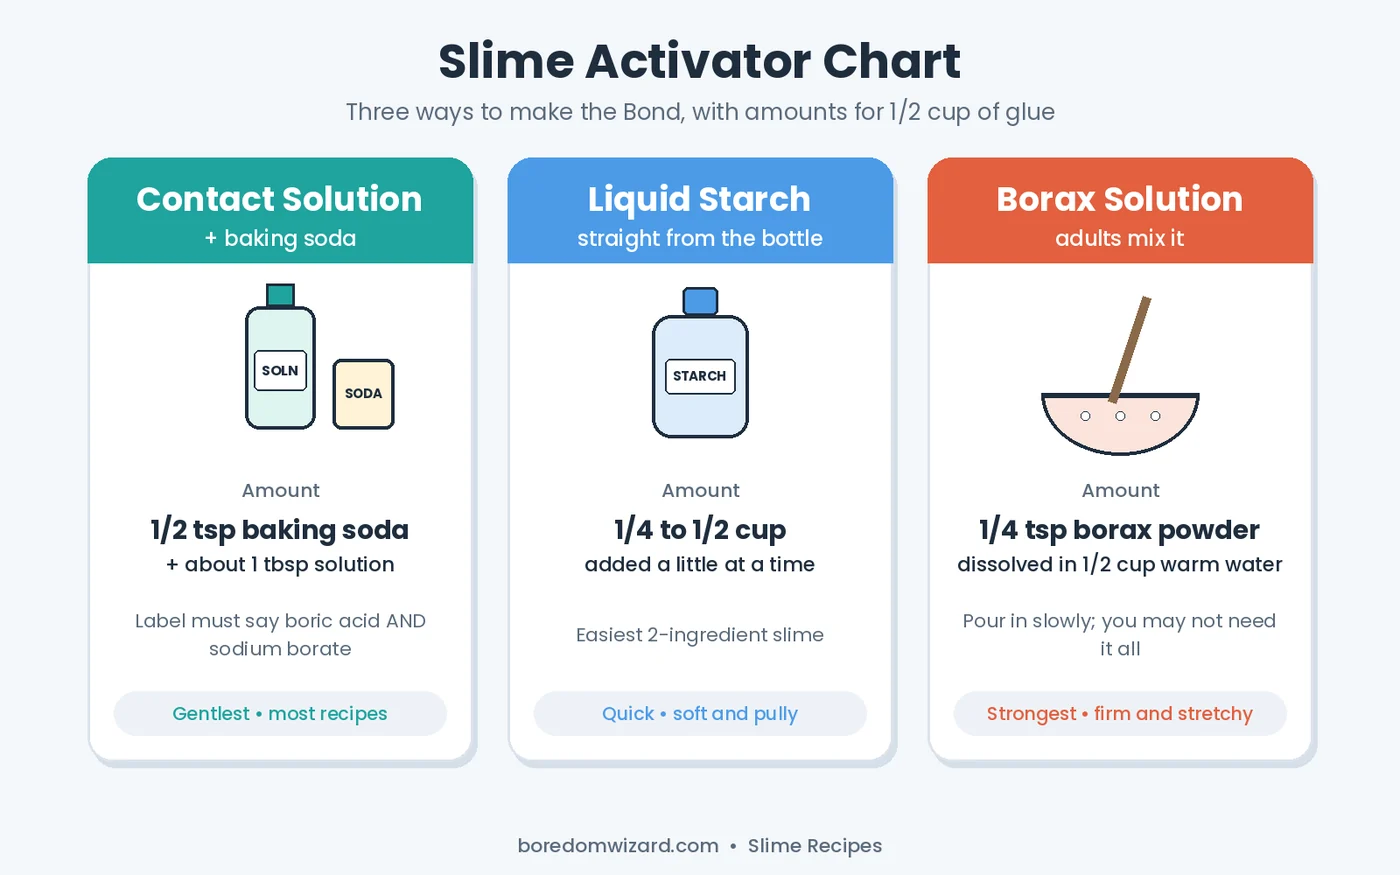
Can you make slime activator without borax? Yes, contact solution with baking soda and liquid starch both work without borax powder. They still contain a small amount of borate, which is what makes them work. For a slime with no borate at all, use recipes 10, 11 or 12.
Why isn’t my contact solution working? Check the label. Saline solutions without boric acid and sodium borate won’t activate slime. Also make sure you added the baking soda.
How to make slime without glue or activator
Glue slime always needs an activator, because glue can’t link up on its own. If you’re out of glue or activator, make one of these instead:
- No-glue slime: 1/2 cup cornstarch and 1/3 cup dish soap (recipe #10).
- Oobleck: 1 cup cornstarch and 1/2 cup water (recipe #11).
- Edible slime: 6 jumbo marshmallows, 1 tablespoon oil and cornstarch (recipe #12).
Skip the viral “glue and baking soda only” or “shampoo and salt” slimes. Baking soda can’t activate glue without borate, and the freezer slimes fall apart within minutes.
Slime Fix-It chart: sticky, hard or runny slime
Most slime that “didn’t work” is one small fix away. Remember the Formula: sticky means too little Bond, and hard means too much.
| Problem | Why it happens | Fix |
|---|---|---|
| Too sticky | Not enough activator yet | Knead 2 more minutes, then add activator 1/2 tsp at a time |
| Hard, rubbery or snaps | Too much activator | Knead in a few drops of warm water or 1 tsp lotion |
| Runny, won’t come together | No borate in the activator | Check the contact solution label, add baking soda |
| Dried out | Left uncovered | Knead in warm water a few drops at a time |
| Fluffy slime went flat | Shaving cream bubbles popped | Normal; enjoy it as stretchy slime |
| Clear slime is cloudy | Air bubbles from kneading | Seal it and let it rest 2 to 3 days |
| No-glue slime is crumbly | Too much cornstarch | Knead in 2 to 3 drops of dish soap |
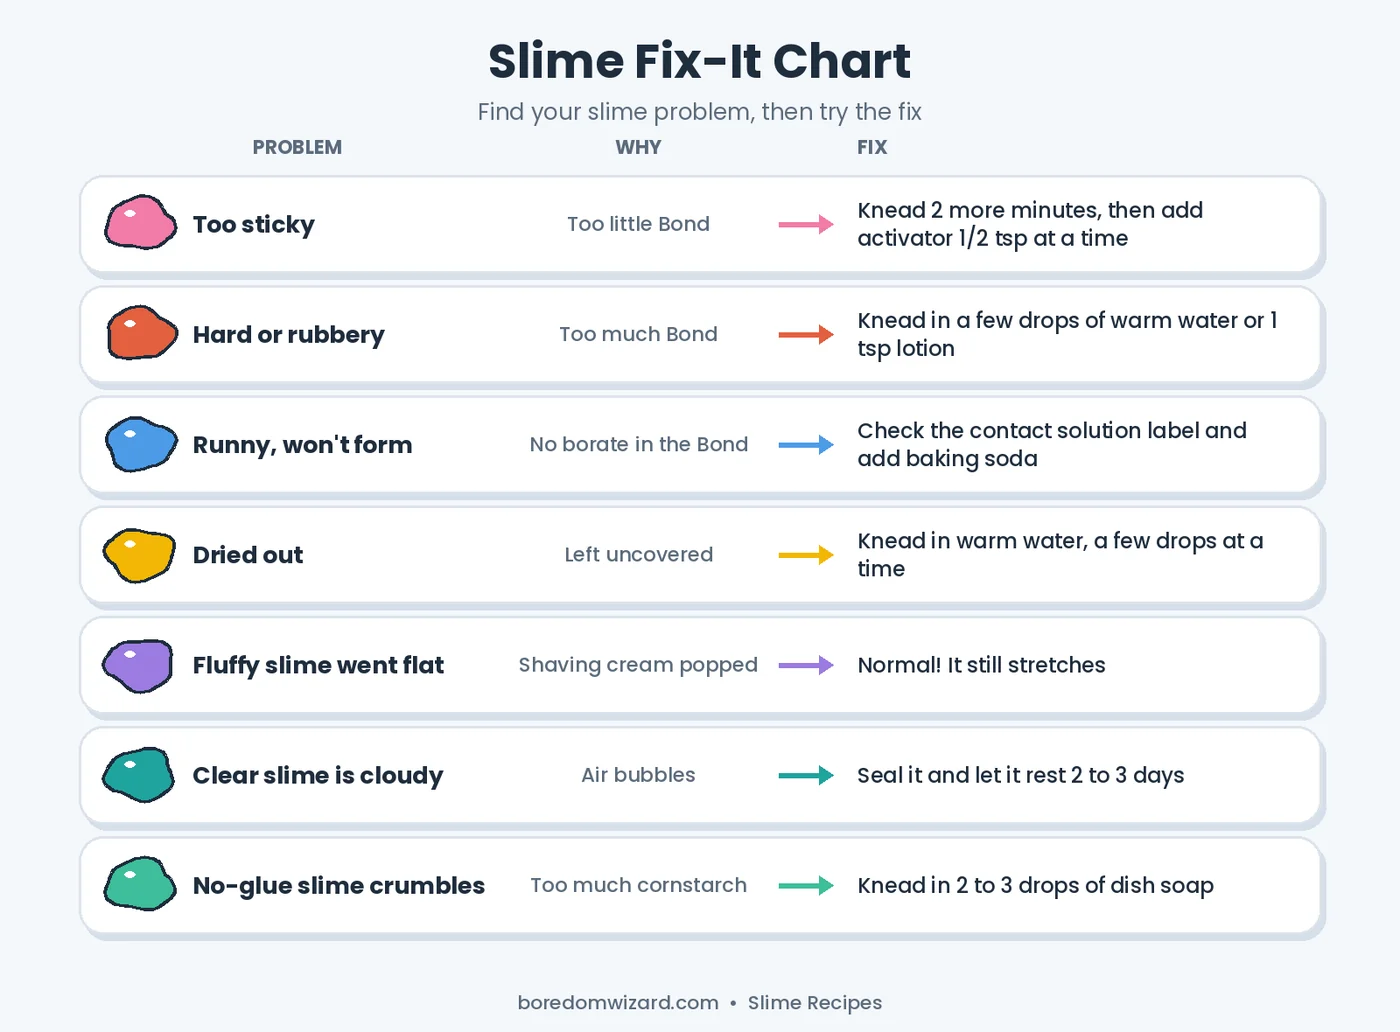
How to make slime less sticky: knead it longer first, because a lot of stickiness goes away with kneading. Then add your activator in tiny amounts. Rubbing a little lotion on your hands also helps.
Is homemade slime safe?
Homemade slime is safe for most kids when an adult supervises and everyone washes their hands. The Missouri Poison Center recommends a few simple rules, especially for borax slime:
- An adult handles borax powder. Only use it dissolved in water, never as a powder on skin.
- Wash hands before and after playing. Wear gloves if you have sensitive skin, and stop if skin turns red or itchy.
- Little kids get taste-safe slime. If a child still puts things in their mouth, make edible marshmallow slime instead.
- Keep slime away from food. Don’t eat or prepare food where you’re making glue or borax slime.
- Take breaks. Avoid playing with borax slime for hours every day. Pregnant women should skip borax recipes.
If someone swallows slime or borax and you’re worried, call Poison Help at 1-800-222-1222 (US). It’s free and open 24/7.
How to store slime and how long it lasts
Store glue slime in an airtight container or a zip-top bag with the air pressed out, at room temperature. Most glue slime lasts about a week, butter slime about 4 to 5 days, and no-glue slime, oobleck and edible slime only the day you make them. Throw slime out if it smells bad, grows spots or gets dirty.
The science of slime (in plain English)
PVA glue is made of long, chain-like molecules called polymers. They slide past each other, so glue pours. When you add an activator, borate links those chains together in a loose net. The links keep breaking and re-forming, so slime stretches, oozes and snaps instead of pouring. That’s why slime is called a non-Newtonian fluid: it acts like a liquid or a solid depending on how hard you push it.
Want to try it as a science experiment? The American Chemical Society has a classroom slime activity, and Wikipedia’s slime article covers the chemistry and how the slime trend took off.
How to get slime out of clothes, carpet and hair
- Scrape off what you can before it dries. Dried slime is much harder to remove.
- Clothes and carpet: soak the spot with white vinegar and scrub with a brush until the slime dissolves. Test hidden spots first. Rinse, then wash clothes as usual.
- Hair: work in a little coconut or olive oil, comb the slime out, then shampoo.
Slime ideas for parties, rainy days and sleepovers
Slime is one of the best screen-free things to do when bored for kids. Set up a slime bar with a base of basic slime and bowls of add-ins, and let everyone build their own Body. It’s a perfect project for a rainy day or a sleepover.
Love squishy, satisfying crafts? Try our paper squishy ideas or the dumpling squishy tutorial next. Older kids who get good at slime can even turn it into one of the crafts to make and sell.
Slime recipe FAQ
What is the easiest slime recipe?
The easiest slime recipe is 1/2 cup white school glue, 1/4 cup water, 1/2 teaspoon baking soda and 1 tablespoon contact lens solution. Stir, then knead for 2 to 3 minutes. It needs no borax powder and takes about 10 minutes.
How do you make slime at home?
To make slime at home, mix PVA school glue with a little water and baking soda, add an activator such as contact lens solution a little at a time, and knead until it stops sticking. Add shaving cream, glitter or clay to change the texture.
What are the ingredients for slime?
Basic slime ingredients are PVA school glue, water, baking soda and an activator such as contact lens solution, liquid starch or a borax solution. Add-ins like shaving cream, glitter, clay or foam beads change the texture.
How do you make 3-ingredient slime?
Mix 1/2 cup white school glue with 1/2 teaspoon baking soda, then stir in about 1 tablespoon contact lens solution and knead. Glue plus liquid starch also makes a 2-ingredient slime.
How do you make slime without glue?
Knead 1/2 cup cornstarch with 1/3 cup dish soap for about 5 minutes. You can also make oobleck from 1 cup cornstarch and 1/2 cup water, or taste-safe slime from marshmallows, oil and cornstarch.
How do you make slime without activator?
Glue slime needs an activator, so use a recipe without glue: cornstarch and dish soap slime, oobleck or edible marshmallow slime. None of them need borax, contact solution or liquid starch.
Can you make slime with just glue and baking soda?
No. Baking soda only helps contact solution firm up the slime. Without an activator that contains borate, glue and baking soda just make thick, sticky glue.
Why is my slime so sticky?
Sticky slime has too little activator or hasn’t been kneaded long enough. Knead for 2 more minutes, then add activator 1/2 teaspoon at a time until it stops sticking.
Why did my slime get hard?
Hard, rubbery slime has too much activator. Knead in a few drops of warm water or a teaspoon of lotion, and add activator more slowly next time.
Can I use any contact lens solution for slime?
No. It must list boric acid and sodium borate on the label. Saline solutions without them won’t activate slime.
How long does homemade slime last?
Glue slime lasts about a week in an airtight container. Butter slime lasts 4 to 5 days. No-glue slime, oobleck and edible slime should be used the same day.
What age is slime safe for?
Most kids can make glue slime with an adult’s help once they no longer put things in their mouth. Younger children should use taste-safe marshmallow slime, and adults should always handle borax.
What glue is best for slime?
Washable PVA school glue, white or clear, works best. White glue makes opaque, pastel slime and clear glue makes glassy, jewel-toned slime.
Make your first batch today
Start with recipe #1, then use the Base–Bond–Body Formula to switch up the texture: swap the Base, adjust the Bond or add a new Body. Print the free slime recipe cards, clear a table and get kneading.
Got a kid who loves hands-on hobbies? Learn a few easy card tricks for the next rainy afternoon, or take our hobby quiz to find their next obsession.