Pottery Ideas: 50 Handbuilding Projects for Every Skill Level (2026)
You do not need a pottery wheel to make ceramics and explore pottery ideas. The three handbuilding techniques — pinch, slab and coil — predate the wheel by thousands of years, and every piece of pottery on earth before 3500 BC was made by hand. These techniques produce mugs, bowls, vases, plates, sculptures and functional kitchen pieces that are indistinguishable from wheel-thrown work once finished and glazed.
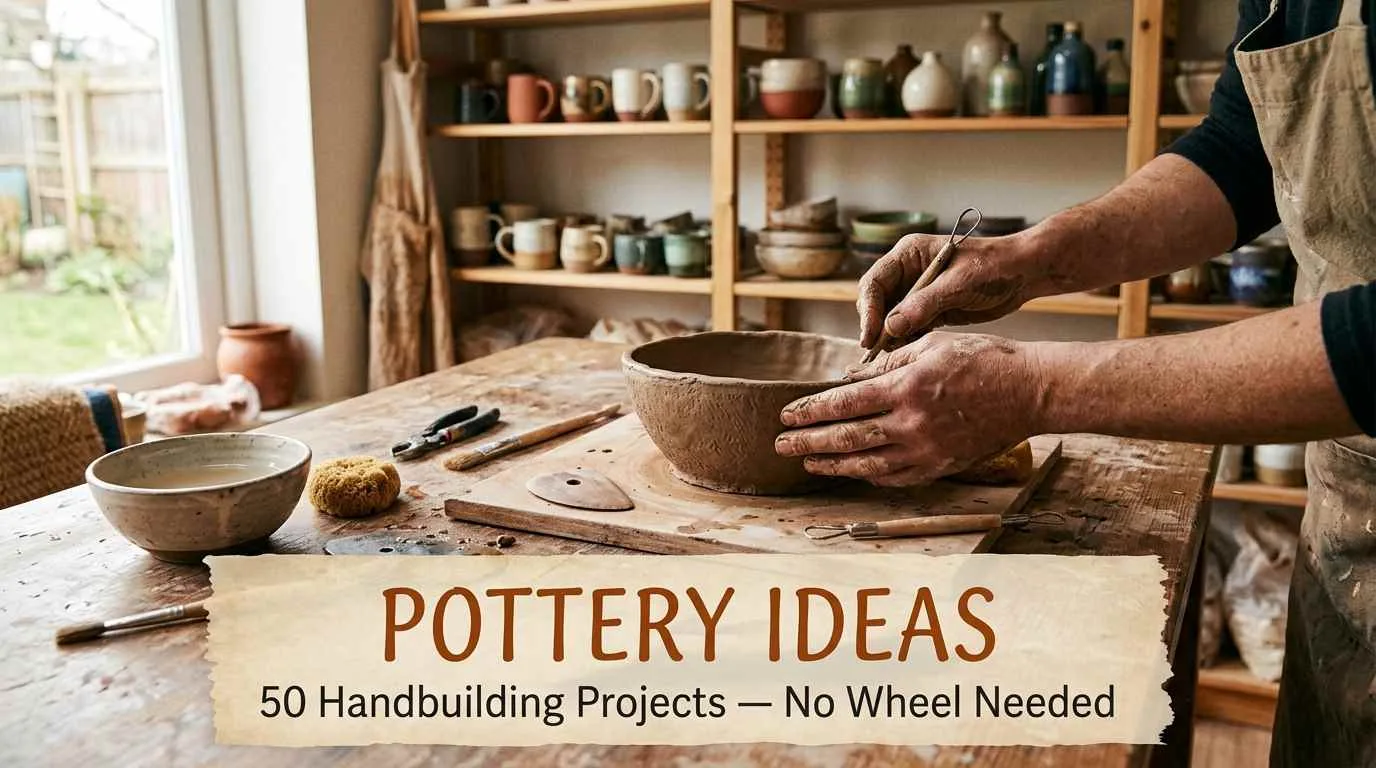
This guide has 50 pottery handbuilding ideas covering all three techniques, sorted by difficulty, with a supply list, the three essential skills explained, and the section most pottery lists skip entirely: what to do if you do not have a kiln. If you want to try pottery without a wheel, without a studio, and without a kiln, the air dry clay section at the end connects directly to our full air dry clay ideas guide with 50 more projects.
Handbuilding is the practice of shaping pottery by hand without a wheel, using three core techniques: pinch (pressing and squeezing a ball of clay into a form), slab (rolling clay into flat sheets that are cut and joined), and coil (stacking rolls of clay to build walls). All three work with any clay body — earthenware, stoneware, porcelain or air dry clay. Handbuilding is easier to learn than wheel throwing, requires less equipment, and produces pieces that have a distinctively organic, handmade character.
The three handbuilding techniques — explained in 60 seconds each
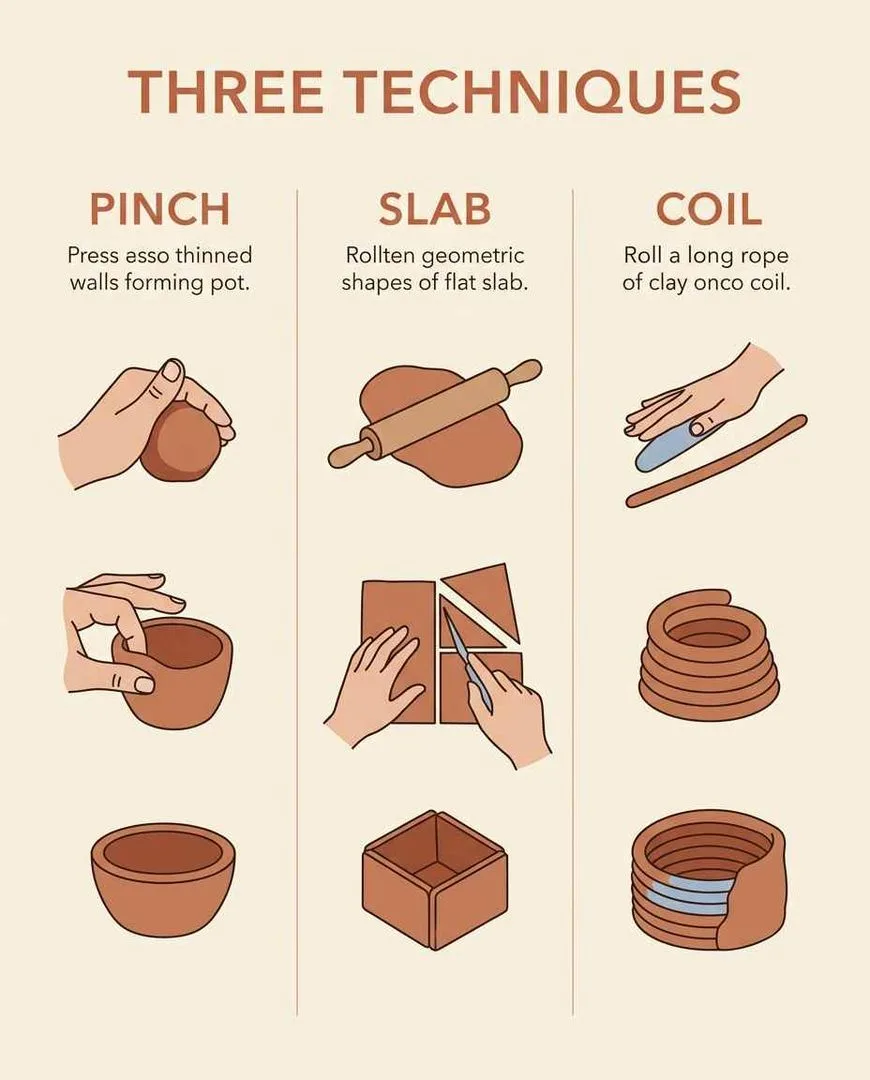
Pinch
Start with a ball of clay the size of a tennis ball. Push your thumb into the centre and pinch the walls outward while rotating. The walls thin evenly as you pinch. This is the oldest pottery technique on earth and the one every beginner should learn first, because it teaches you how clay responds to pressure. Every project in the pinch section below uses only this technique.
Slab
Roll clay into a flat sheet using a rolling pin (place sticks on either side to ensure even thickness). Cut the slab into shapes and join them together using score-and-slip: scratch both surfaces, apply a thin layer of liquid clay (slip), press together, and smooth the seam. Slab building produces clean, geometric forms — boxes, trays, architectural shapes — and is the most versatile technique for functional pottery.
Coil
Roll clay into long ropes (coils) about the thickness of your thumb. Stack the coils in a spiral, one on top of the other, scoring and slipping each layer. Smooth the inner surface for a clean finish, or leave the outer coils visible for a textured, handmade look. Coil building creates round, organic forms — tall vases, wide bowls, sculptural pieces — without the symmetry constraints of a wheel.
What you need to start handbuilding pottery
- Clay. For kiln-fired work: stoneware or earthenware clay ($10–15 for 25lbs). For no-kiln work: air dry clay ($5–10 per kg). Stoneware is the most forgiving for beginners — it is strong, takes glaze well, and fires at a wide temperature range.
- A work surface. A canvas-covered board, a plaster bat, or a sheet of cotton fabric on a table. The surface must absorb slight moisture so the clay does not stick.
- A rolling pin and thickness guides. Two wooden sticks (rulers, dowels, or chopsticks) placed on either side of the clay ensure an even slab thickness.
- A wire cutter. For cutting clay from the block and separating pieces from the work surface.
- Basic clay tools. A needle tool, a wooden rib, a sponge and a small bowl of water. A $10 pottery tool kit covers everything. A fork works for scoring, a butter knife works for cutting.
- Kiln access (optional). Community studios, local pottery classes and makerspaces offer kiln firing for $5–15 per piece. You do not need to own a kiln. If kiln access is not available, air dry clay is the alternative — see section 6.
- Glaze (optional). Applied after bisque firing. Community studios typically stock glazes for student use. For air dry clay, acrylic paint and sealant replace glaze.
Pinch pot pottery ideas
The technique: push your thumb into a ball of clay and pinch the walls outward. Rotate after every pinch for even walls. Start with a ball the size of a tennis ball for a small bowl or the size of an orange for a larger piece.
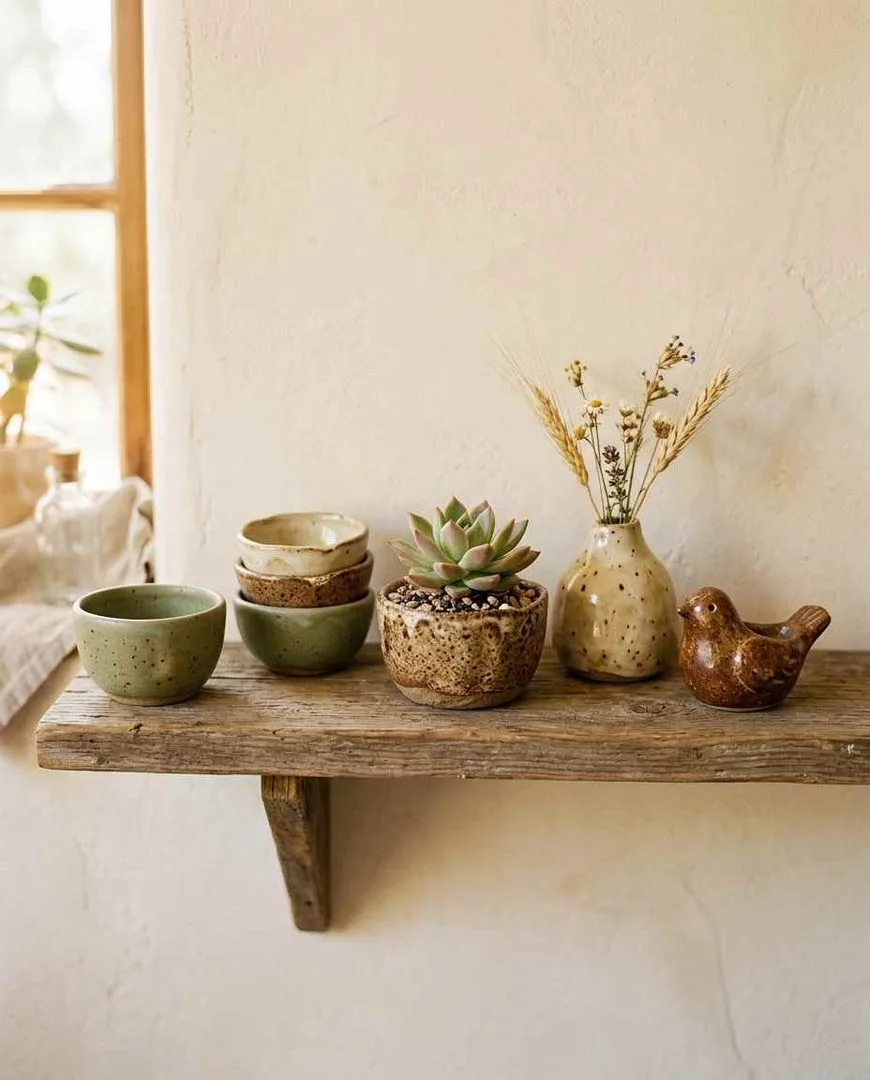
1. Simple tea bowl
The first pinch pot every potter makes. Pinch until the walls are 5–7mm thick, smooth the rim with a damp finger, and leave the exterior showing your finger marks — they are the evidence of handmaking and the reason pinch pots have character that wheel-thrown pieces lack. Fire, glaze in a warm colour, and drink tea from something you made with your own hands.
2. Condiment bowl set
Make four to six small pinch pots, each slightly different in size and shape, for salt, pepper, spices, olive oil and soy sauce. The set looks intentionally varied because it is. Glaze the interiors for food safety and leave the exteriors raw or in a contrasting colour.
3. Pinch pot planter
A larger pinch pot (start with a ball the size of a grapefruit) with drainage holes pierced in the base before drying. The organic, slightly irregular shape of a pinch pot planter gives succulents and small plants a handmade home that plastic pots cannot match.
4. Pinch pot cup with handle
Make a pinch pot cup, then roll a small coil of clay, curve it into a handle shape, and attach it to the cup using score-and-slip. The handle join is the first real structural challenge — it must be strong enough to hold the weight of a full cup. Score deeply, use generous slip, and smooth the join thoroughly.
5. Pinch pot bird
Form a pinch pot, then gently press the opening closed to create a hollow body. Pull one end into a tail, the other into a head and beak. Add two small clay wings with score-and-slip. The bird sits on any surface because the rounded pinch-pot base acts as a natural stand. A charming shelf decoration.
6. Pinch pot candle holder
A shallow pinch pot with thick walls and a tealight-sized indent pressed into the centre. The thick walls glow when a candle is lit inside, especially with a lighter-coloured clay or a translucent porcelain body. Make a set of three in different sizes.
7. Nested bowl set
Make three pinch pots in graduated sizes that nest inside each other. The challenge is planning the sizes so each bowl fits cleanly inside the next. Start with the largest and work down, using the previous bowl as a size reference.
8. Seed pod sculpture
Pinch a pot, close the top to create a hollow sphere, then cut an opening on one side and curl the edges outward like a splitting seed pod. The organic form looks botanical and sculptural. No glaze needed — the raw clay finish enhances the natural aesthetic.
9. Egg cup
A tiny pinch pot with a narrow base, just wide enough to cradle a boiled egg. Make a set of four. These are small enough to complete in 10 minutes each and the result is a breakfast table upgrade.
10. Incense holder bowl
A shallow pinch pot with a small hole pierced at the rim to hold an incense stick at an angle. The ash falls into the bowl. Simple, functional, beautiful in raw clay or a dark matte glaze.
11. Ring dish with texture
A small pinch pot flattened slightly so it sits wide and shallow. Press a lace doily, a leaf, or a rubber stamp into the interior while the clay is soft to create a textured surface that cradles rings and earrings.
12. Pinch pot wind chime
Make five to seven small pinch pots of different sizes, pierce a hole through each, fire them, and string them on a cord with knots between each pot. Hang outside and the fired clay pieces create a gentle, warm tone when the wind moves them.
Slab pottery ideas
The technique: roll clay into a flat sheet of even thickness (5–10mm for most projects), cut shapes with a knife or cookie cutter, and join pieces using score-and-slip. Let slabs firm up to leather-hard (stiff but still workable) before assembling vertical structures.
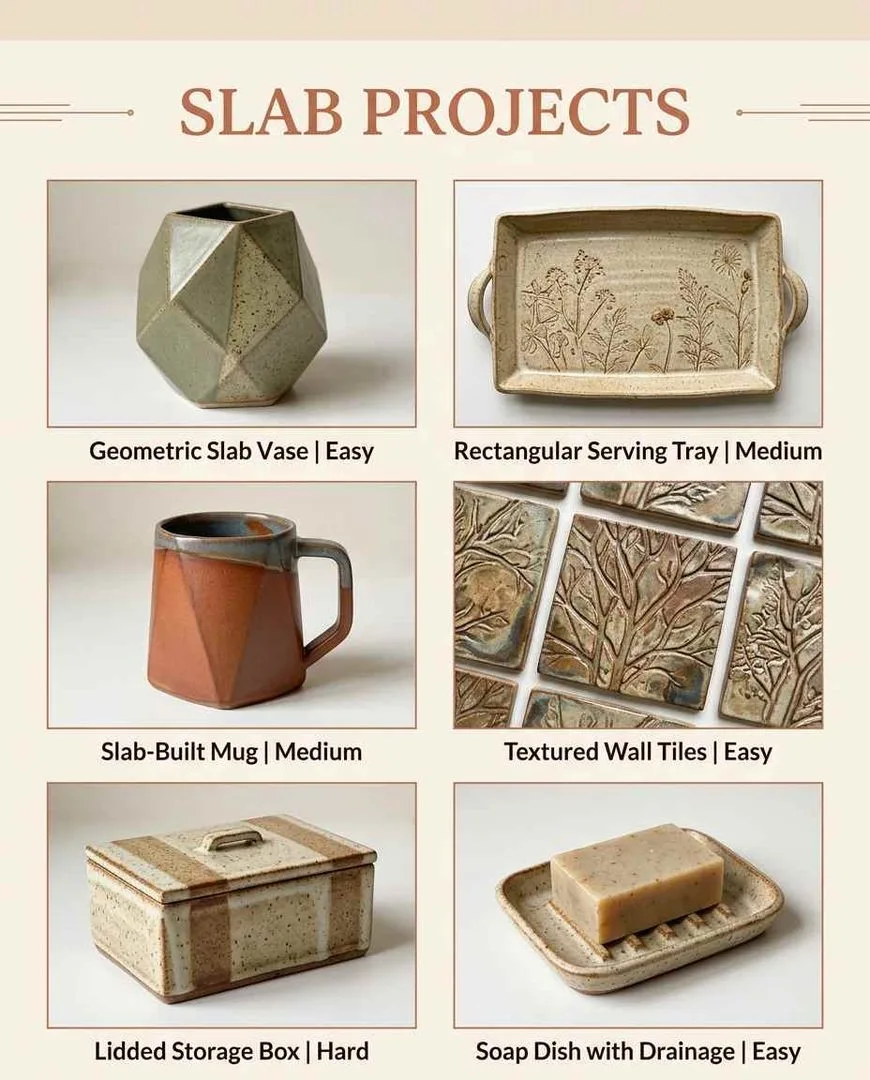
13. Serving tray
Roll a large slab (25x35cm, 8mm thick), cut a clean rectangle, fold the edges up 2cm to form low walls, and smooth the corners. A flat, functional tray for serving food, holding candles, or organising a desk. Glaze the interior for food safety. The most satisfying beginner slab project because the result is immediately useful.
14. Geometric slab vase
Cut five slab panels (four walls and a base), score and slip all edges, and assemble a rectangular or pentagonal vase. The geometric shape is distinctive and impossible to make on a wheel, which is the whole point of slab building. Use a glass jar inside as a waterproof liner for fresh flowers.
15. Slab-built mug
Cut a rectangular wall, wrap it into a cylinder, attach a circular base, and add a pulled handle. The slab mug has flat facets where wheel-thrown mugs have smooth curves, giving it a modern, architectural feel. The handle attachment is the most important join — score deeply and smooth the transition.
16. Textured wall tiles
Roll slabs 8–10mm thick, cut into squares or rectangles, and press textures into the surface: lace, burlap, leaves, stamps, rope, the bottom of a shoe. Fire, glaze, and mount on a wall as decorative art. A set of 6–9 tiles creates an accent wall installation.
17. Soap dish with drainage
Roll a slab, cut an oval, press parallel ridges into the surface with a ruler, and drape over a curved form to create a slight slope. The ridges let water drain so the soap does not dissolve. Seal thoroughly for water resistance.
18. Lidded storage box
Cut six panels (four walls, a base and a lid), assemble the box, and make the lid slightly larger than the opening so it sits on top without falling in. The lid can be flat or domed with a small knob handle. The join at each corner must be clean and strong.
19. Butter dish
A rectangular base with low walls and a domed lid. The lid needs a knob or handle for lifting. Score and slip every join. Glaze for food safety. A functional kitchen piece that looks handmade in the best way.
20. Clock face
Roll a slab, cut a circle (or any shape), pierce a centre hole for the clock mechanism, decorate the surface with stamped numbers, carved lines or textured patterns. Fire, glaze, attach the clock mechanism from behind. A functional wall piece.
21. Letter holder
Two parallel slab walls connected by a base, spaced 3–4cm apart. Letters and envelopes stand upright between the walls. Add texture or a carved design to the front wall. Small, useful, and an excellent desk accessory.
22. Slab plate
Roll a large slab, cut a circle, drape over a plate-shaped mould, smooth the rim, and let it firm up. A handbuilt dinner plate has a distinctive irregularity that mass-produced dinnerware lacks. Make a set of four for a table that looks deliberately crafted.
23. Pencil cup
Wrap a slab around a tin can to form a cylinder, smooth the seam, add a slab base, and remove the can after the clay firms up. Add texture, a carved name or a stamped pattern. The simplest functional piece that sits on every desk.
24. Spoon rest
Cut a slab into an oval or leaf shape, curl the edges up slightly, fire and glaze. A five-minute project that prevents stove-top spoon stains for the rest of its life.
25. Wall pocket vase
A half-vase — flat on the back, curved on the front — designed to hang on a wall and hold dried flowers or kitchen utensils. Attach a small hole or wire loop at the back for hanging before firing.
26. Cheese board
A large, thick slab (12–15mm) cut into a rectangle or organic shape, with a smooth surface and a bevelled edge. Fire at stoneware temperature for density and food safety. A genuinely impressive handmade serving piece.
27. Candle lantern
Four slab walls with geometric shapes cut out of them (circles, triangles, stars), assembled into a box or cylinder with an open top. Place a tealight inside and the light shines through the cut-outs. Atmospheric and achievable in one session.
Coil building pottery ideas
The technique: roll clay into ropes (coils) about thumb-thickness, stack them in a spiral, score and slip each layer, and smooth the inside with a rib or your fingers. Leave the outside coils visible for texture or smooth them for a clean surface.
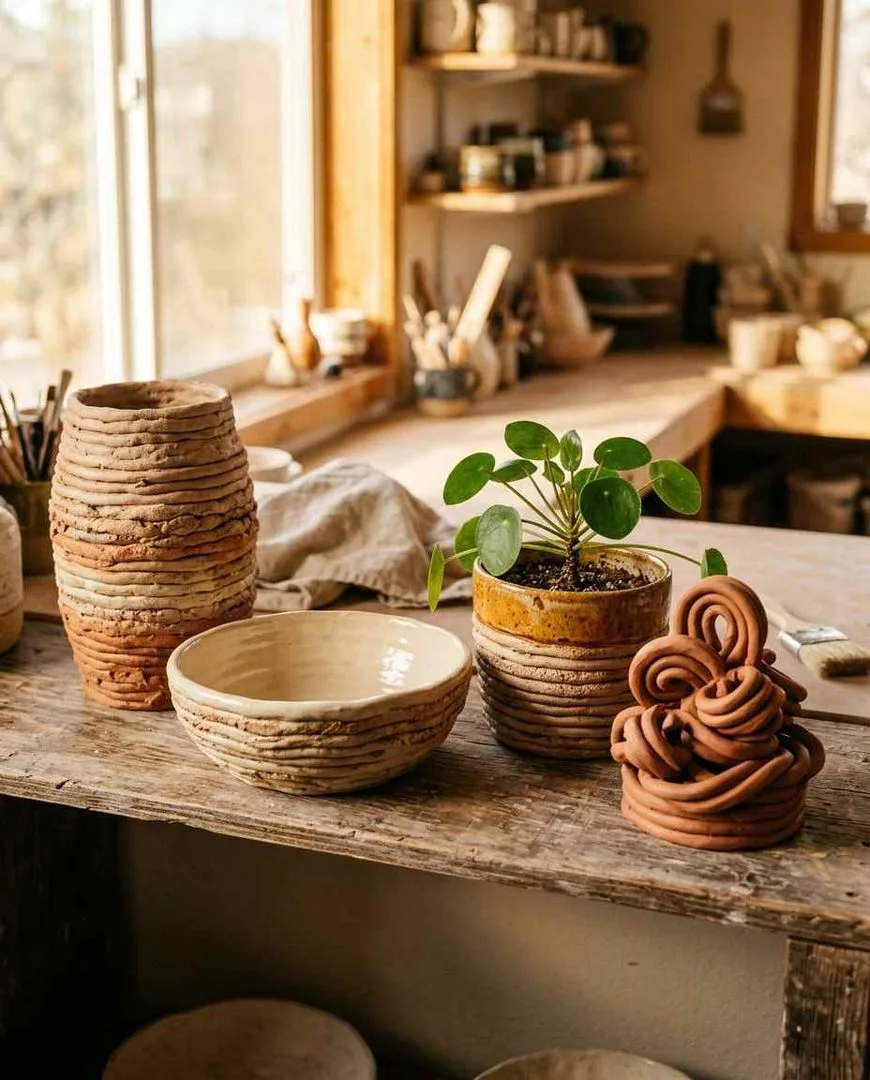
28. Tall coil vase
Stack coils upward in a cylinder, gradually narrowing at the neck and flaring at the rim. Leave the exterior coils visible for a textured, ancient-looking surface. Coil building is the only handbuilding technique that creates genuinely tall forms — 30cm+ vases are achievable that would collapse as pinch pots or slump as slabs.
29. Wide serving bowl
Build outward from a flat base, each coil placed slightly outside the one below to create a widening bowl shape. Smooth the interior completely for a clean eating surface. The exterior can stay textured or be smoothed. A coil-built serving bowl has a warmth and weight that feels intentionally handmade.
30. Coil planter
Build a cylinder with drainage holes pierced in the base, then widen or narrow the profile as you build upward. The visible coil texture on the exterior pairs beautifully with green plants — the organic clay surface complements organic plant life.
31. Coil-built teapot
A round coil body with a slab lid, a pulled spout and a coil or pulled handle. The most ambitious coil project on this list and one of the most rewarding. The spout must be attached at the correct angle so water pours cleanly, and the lid must fit snugly. A teapot is a test of every skill you have learned.
32. Coil portrait head
Build a hollow head shape using coils, adding features (nose, brow, chin, ears) by adding clay and shaping with tools. The visible coil texture becomes the hair. Sculptural, expressive, and the project that crosses the line from craft into art.
33. Coil fruit bowl
A wide, shallow coil bowl with a decorative rim — scalloped, folded, or left with visible coil ends. Large enough to hold fruit on a kitchen counter. The bowl combines function and display in one piece.
34. Coil candle sconce
Build a half-cylinder against a flat slab back, attach a hanging loop, and create a shelf inside for a tealight or small pillar candle. Mount on a wall. The warm glow through the coil texture creates atmospheric lighting.
35. Coil sculpture — abstract form
Build a free-form organic shape with no functional purpose. Twist, curve, narrow, widen. The coil technique allows forms that would be impossible to throw on a wheel. This is where handbuilding becomes genuinely expressive and personal.
Useful pottery you will actually use every day
The projects that justify the clay, the glaze and the kiln time because you use the finished piece daily.
36. Morning coffee mug
Your mug. The one you reach for every morning. Made by your hands, glazed in a colour you chose, with a handle that fits your grip. A handmade morning mug changes the ritual of coffee from routine to intention. Make three: one for you, one to give, one as backup.
37. Garlic keeper
A small lidded jar with ventilation holes pierced in the walls to keep garlic dry and aired. The lid lifts off for access. A niche kitchen item that every cook wants and nobody thinks to make.
38. Oil and vinegar pourer set
Two small coil or slab bottles with narrow necks and small pouring spouts, sized to hold olive oil and balsamic vinegar on the table. The pouring spout must be shaped so oil drips cleanly without running down the side.
39. Soap dispenser body
A slab or coil cylinder sized to hold a standard soap pump insert. The ceramic body replaces the plastic bottle while reusing the pump mechanism. A bathroom upgrade that costs almost nothing in materials.
40. Utensil crock
A wide, tall cylinder (coil or slab) that holds spatulas, spoons and whisks upright next to the stove. Weight is an advantage here — a heavy handmade crock does not tip when you pull a utensil out.
Cute ceramic ideas
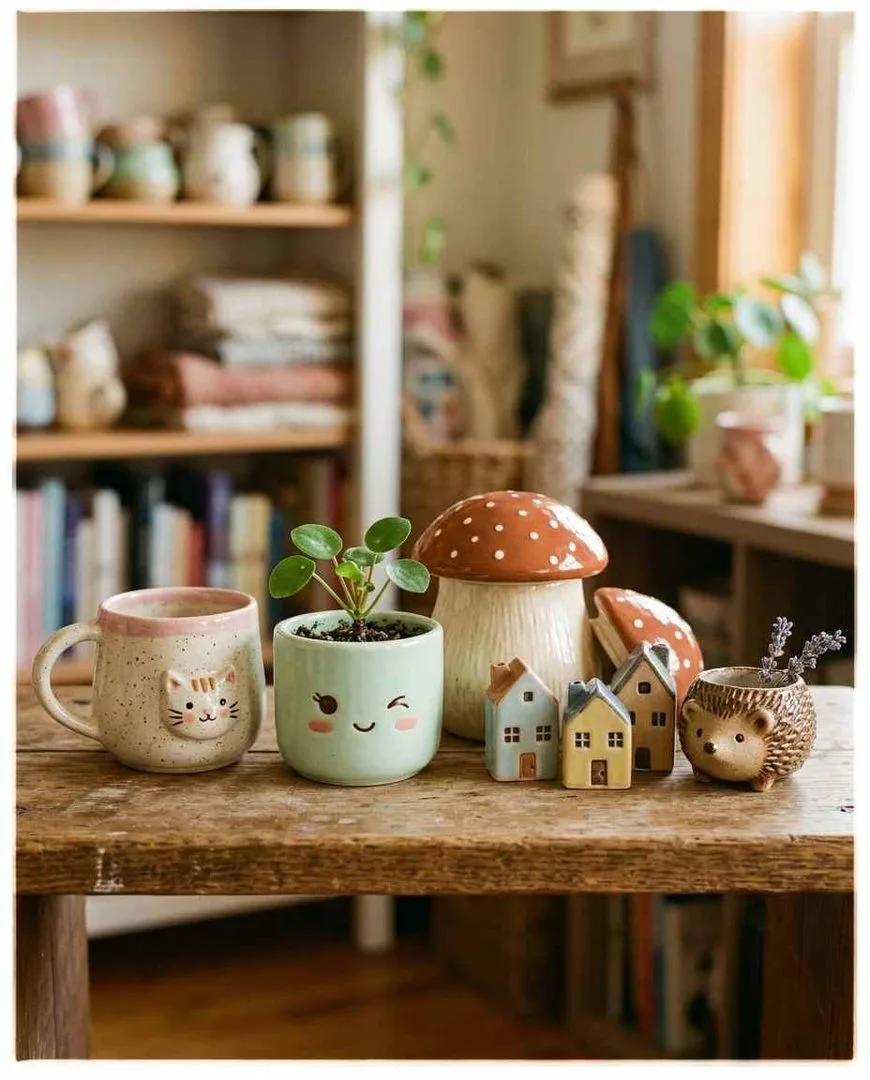
41. Animal face mug
A standard slab or pinch mug with a small sculpted animal face on the front — a cat, a dog, a fox, a bear. Two tiny ears at the rim, a small nose, and two dot eyes. The face turns an ordinary mug into a character.
42. Face planter
A coil or slab planter with a sculpted or painted face. The plant growing out of the top becomes the hair. A succulent gives a spiky hairstyle; trailing ivy gives flowing locks.
43. Mushroom jar
A pinch pot body with a domed slab lid shaped like a mushroom cap. Glaze the cap red with white spots or go for natural earth tones. A trinket jar, a sugar bowl, or pure decoration.
44. Tiny ceramic houses
Small slab-built houses (5–8cm tall) with peaked roofs, carved doors and windows, and chimney details. Make five to seven in different sizes and arrange them as a miniature village on a shelf.
45. Hedgehog pinch pot
A pinch pot body with small spikes scored or added to the exterior, two tiny dot eyes, and a small pointed nose. A hedgehog that holds your rings, your paper clips, or nothing at all.
No kiln? Start with air dry clay
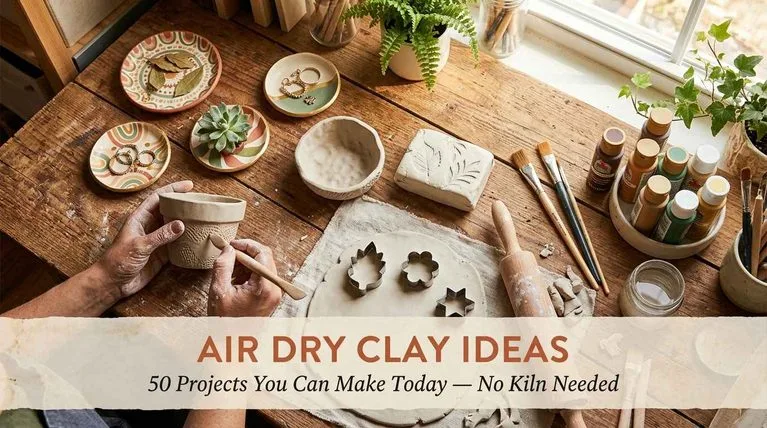
Every technique on this page — pinch, slab and coil — works with air dry clay. The pieces will not be food-safe or waterproof without sealing, but they are perfect for decorative items, trinket dishes, planters (with a plastic liner), wall art, sculptures and gifts. Our full guide to air dry clay ideas has 50 projects specifically designed for air dry clay, with supply lists, anti-cracking techniques and finishing methods. Start there if you do not have kiln access, and transition to fired clay when you find a studio or class.
Pottery ideas: FAQ
What are good pottery ideas for beginners?
A pinch pot tea bowl is the best first project because it teaches you how clay responds to pressure. After that, a slab tray or coaster teaches cutting and joining. A small coil bowl teaches building height. These three projects cover all three handbuilding techniques and can be completed in one afternoon.
Can you do pottery without a wheel?
Yes. Handbuilding — using pinch, slab and coil techniques — produces mugs, bowls, vases, plates and sculptures without a wheel. Every piece of pottery made before 3500 BC was handbuilt. The wheel is one tool, not the only tool, and many professional potters prefer handbuilding for certain forms.
Can you do pottery at home without a kiln?
Yes, with air dry clay. Air dry clay hardens at room temperature in 24–72 hours without firing. It is not food-safe or waterproof without sealing, but it works for decorative items, planters, trinket dishes, wall art and gifts. For fired pottery, community studios and pottery classes offer kiln access for $5–15 per piece.
What is the easiest handbuilding technique?
Pinch. You start with a ball of clay, push your thumb in, and pinch the walls outward. No tools required beyond your hands and a damp sponge. A pinch pot bowl takes 15–20 minutes and teaches you the fundamentals of clay thickness, moisture and form.
What is the difference between handbuilding and wheel throwing?
Handbuilding uses your hands and simple tools to shape clay using pinch, slab and coil techniques. Wheel throwing uses a spinning pottery wheel to shape symmetrical forms while the clay rotates. Handbuilding is easier to learn, requires less equipment, and produces organic forms. Wheel throwing is faster for symmetrical pieces but requires more practice to master centering and pulling.
Is handbuilding pottery easier than wheel throwing?
For beginners, yes. Handbuilding requires no special equipment, no centering skill and no wheel. You can make a functional pinch pot in 15 minutes on your first try. Wheel throwing typically takes several sessions before you can centre clay and pull a consistent wall. However, both techniques have advanced levels that take years to master.
What is score and slip in pottery?
Score and slip is the method for joining two pieces of clay. Score means scratching both surfaces with a fork, needle tool or knife to create a rough texture. Slip is liquid clay (clay dissolved in water) applied to the scored surfaces as an adhesive. Press the two scored, slipped surfaces together and smooth the join. Every slab and coil join must be scored and slipped or it will crack apart during drying or firing.
Start with a pinch pot and see where it leads
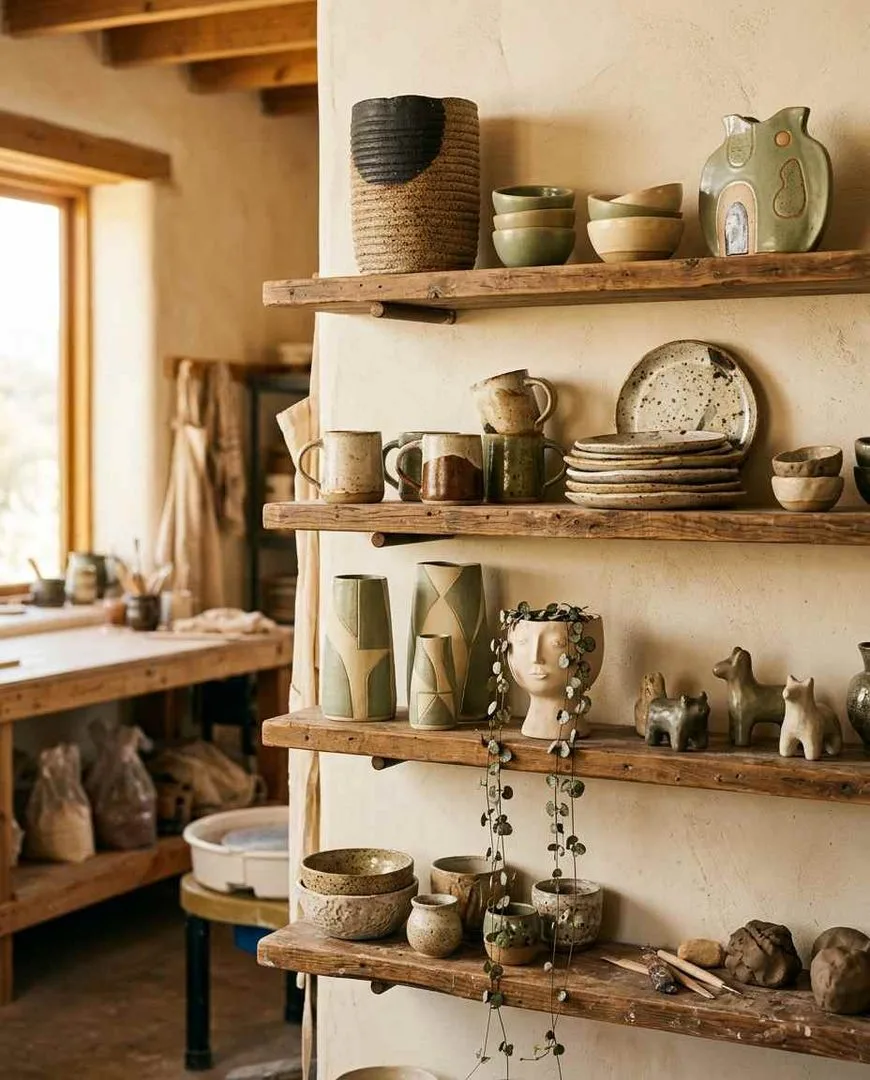
A pinch pot takes 15 minutes and teaches you everything about how clay moves in your hands. A slab tray takes 30 minutes and teaches you cutting and joining. A coil bowl takes an hour and teaches you building height. By the time you have made all three, you will understand handbuilding well enough to attempt anything on this list — and you will have three finished pieces to show for your first afternoon with clay.
For no-kiln projects, our air dry clay ideas guide has 50 more projects. For other hands-on hobbies, whittling ideas has 40 carving projects, junk journal ideas has 50 mixed-media pages, things to bedazzle has 50 rhinestone projects, and girls night craft ideas has 40 group projects including a clay trinket dish night. For the full collection, hobbies to do at home and things to do when bored are the master lists.